Once you have installed the plug-in, there are a few steps you need to complete before your uploaded files will be stored in B2.
BackBlaze Setup
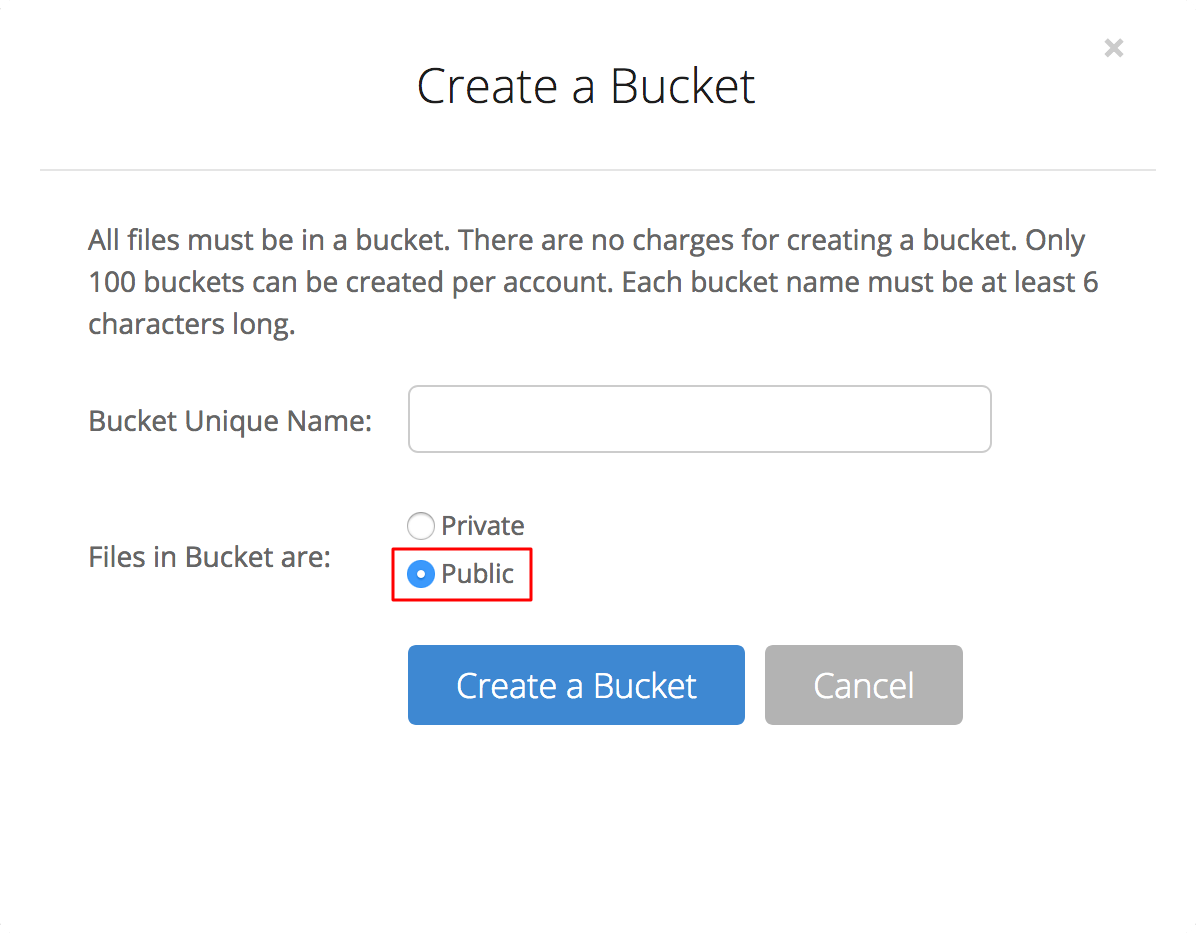
If you don't already have a BackBlaze account, head on over to their signup page and create a new account. Once your account is created, you need to create a new bucket.
BackBlaze does not charge you for buckets, but you are limited to 100 buckets per account. And each bucket name must be globally unique, meaning you can't just use Rock as your bucket name because it's been used by somebody else in the world. I recommend prefixing your bucket names with your church name, such as RockSolidChurchDemoMediaFiles. When creating the bucket you will also need to set the bucket to be Public. This does not allow others to browse your files, it simply allows you to link directly to files (such as images) and use them on your website without the end-user needing to be logged into BackBlaze.
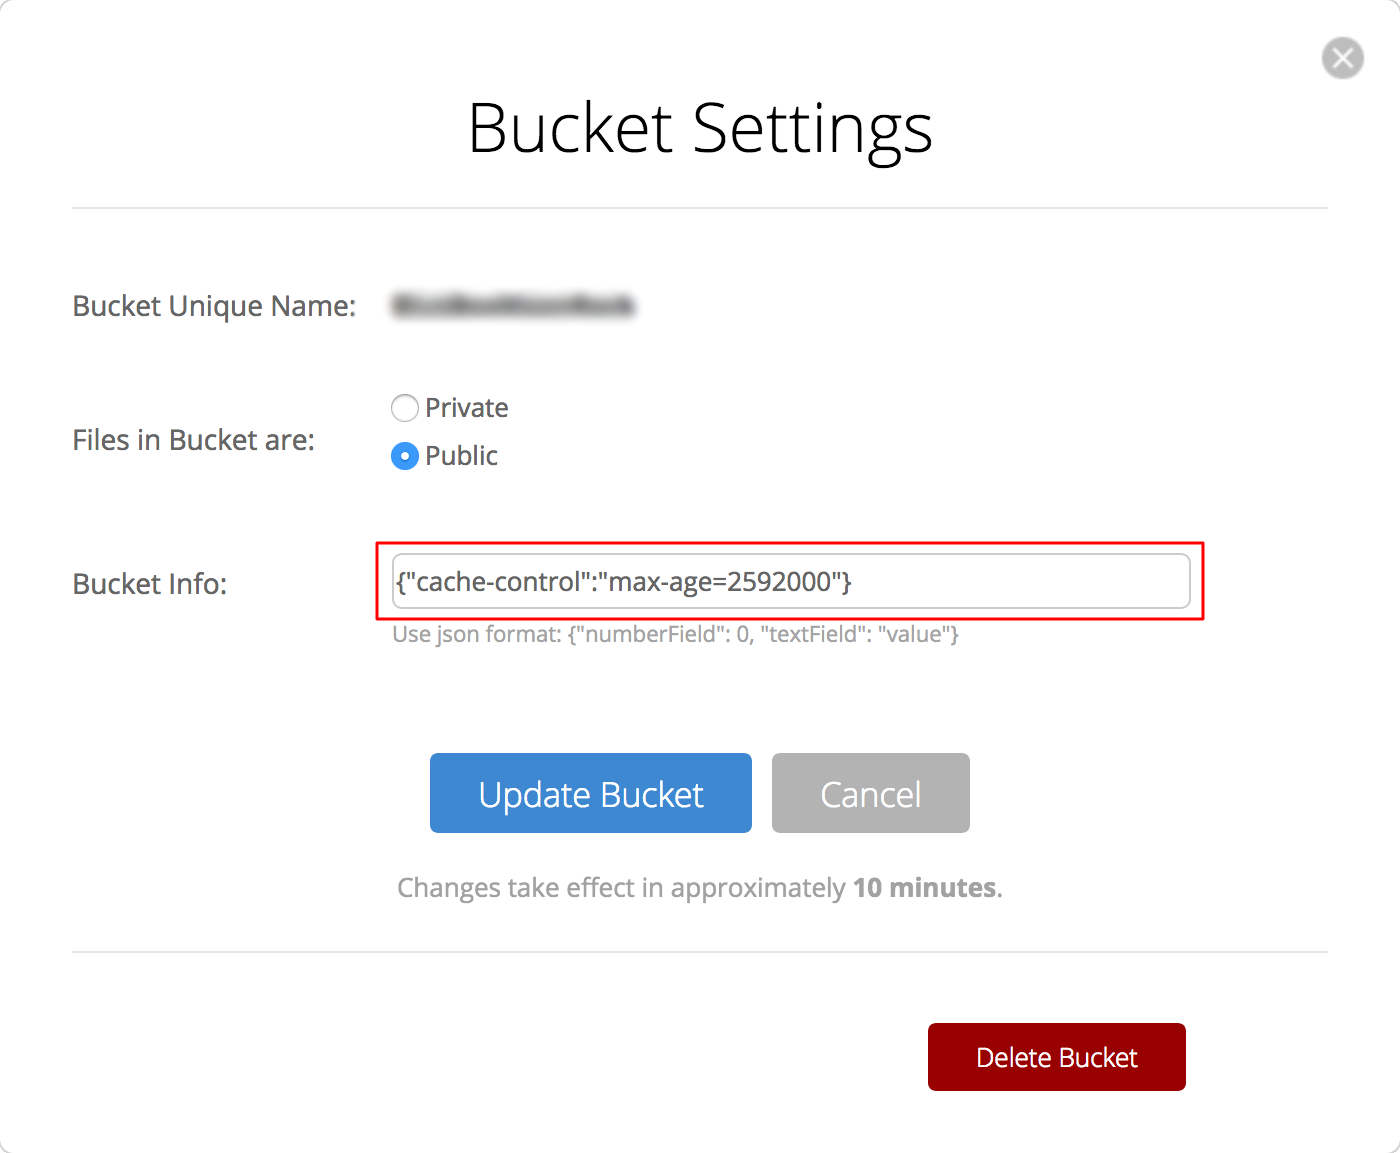
Next, there are a few settings we recommend you change on your buckets. The first is the cache period. By default B2 will mark all files in the bucket as non-cacheable. This means web browsers will download the file every time, even if it hasn't changed. You probably don't want that. To change this, use the Bucket Settings link for your new bucket. In the Bucket Info field you will need to enter a value in JSON syntax. The numeric value is the number of seconds files should be cached for. A common value is 30 days, or 2592000 seconds. Enter the text string {"cache-control":"max-age=2592000"} as pictured below and update the bucket.
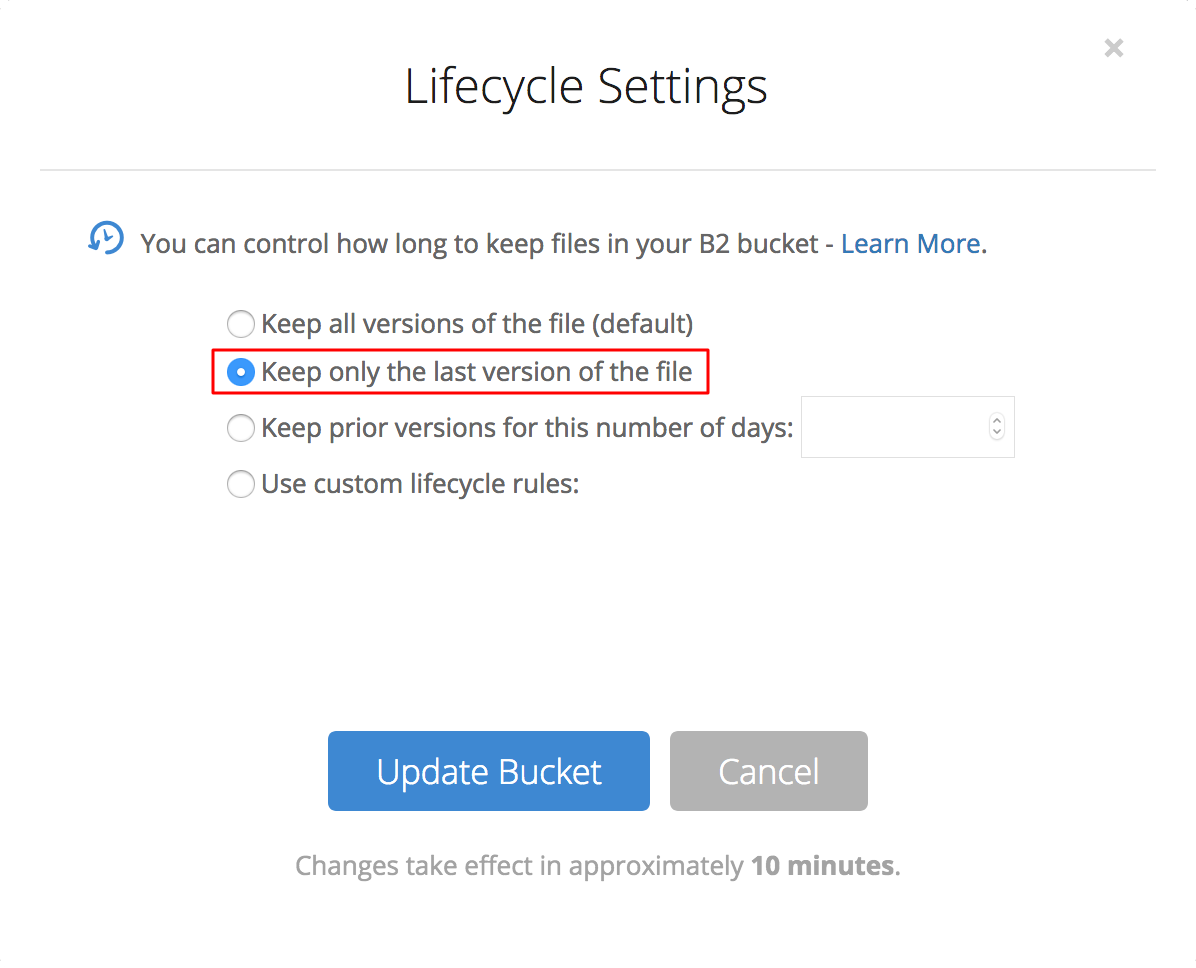
The last setting is to change the Lifecycle Settings for the bucket. This controls how many versions of a file to keep and by default B2 will keep all versions of a file. In normal use this means if you replace a file in B2 it will keep the old version and the new version so you can go backwards. In Rock's usage of B2, each time you upload a file it gets a new name so even if you "replace" a file in Rock it still ends up with a new name in B2. Even still, for simplicity we recommend changing this default to only keep the most recent version of the files.
Storage Provider
In System Settings you will need to go to the File Storage Providers page and select the new B2CloudStorage provider. In the dialog that opens you will need to change the Active setting to Yes and enter your Account Id and Application Key.
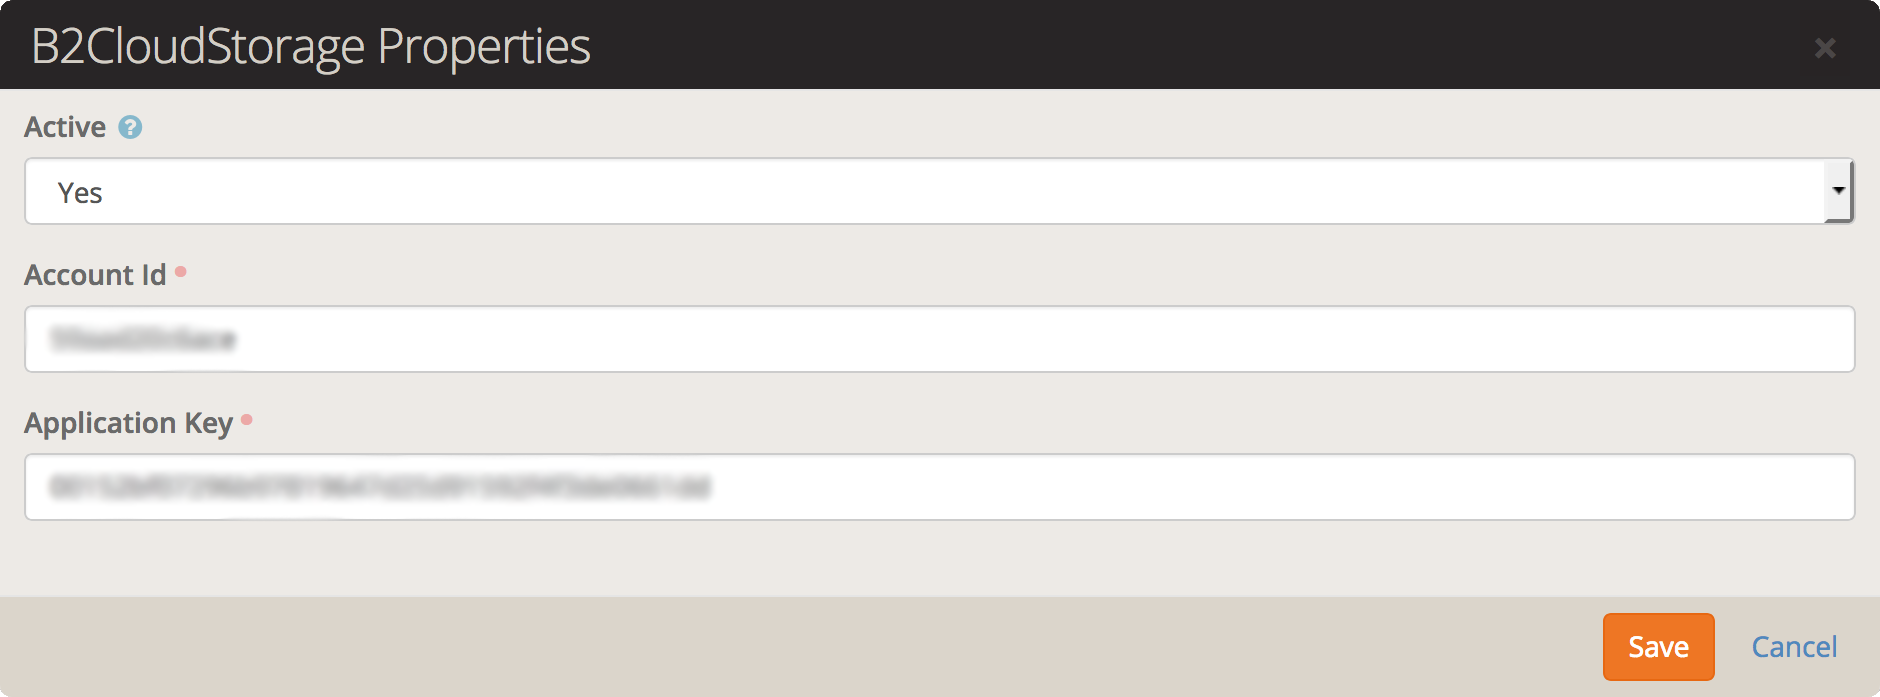
You can find your Account Id by going to your BackBlaze dashboard and clicking on the Show Account Id and Application Key link. In there you can generate a new Application Key to use with Rock.
Note: BackBlaze will never again show you the application key and generating a new one will invalidate the old one. For this reason the application key will be displayed in Rock rather than displayed as ******s.
File Types
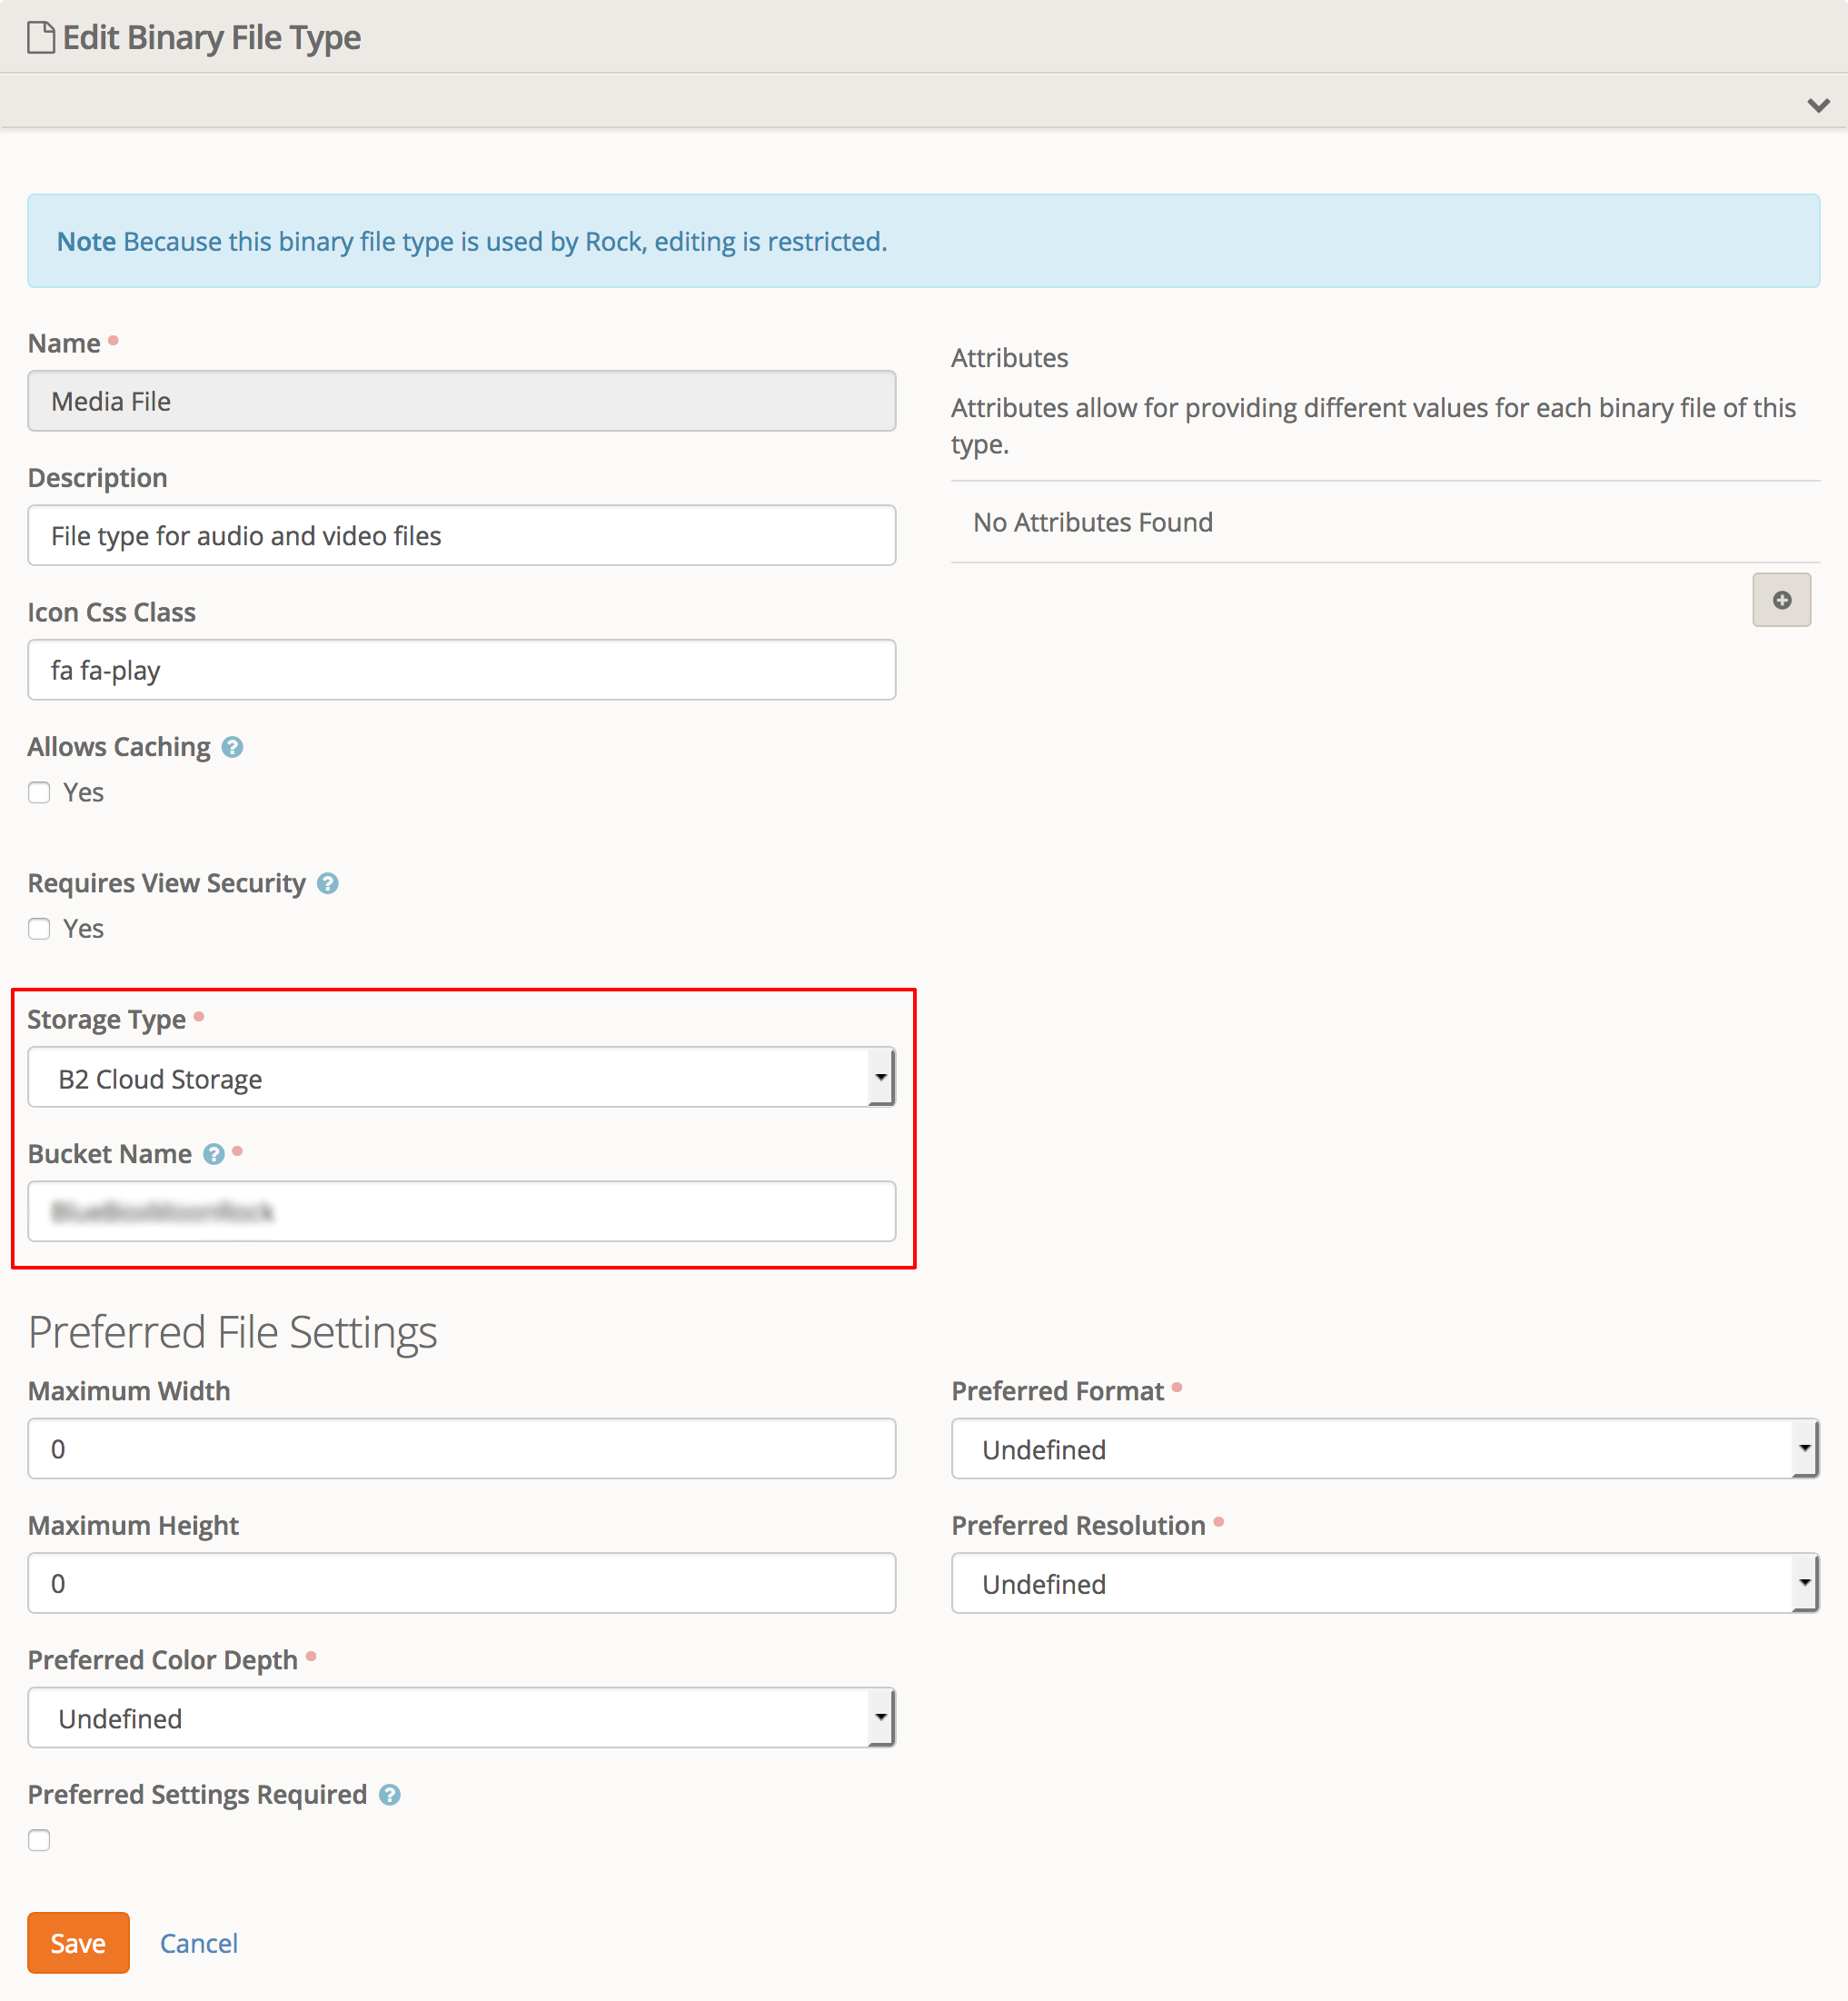
Now that your provider is enabled and configured, you need to setup one or more file types to use the provider. Go to your General Settings page and then the File Types section. In here you can configure where files of various types are stored. We will use the example of the Media File type to configure for storage in B2. Click on this item to open it's settings dialog.
You will need to change the Storage Type drop down to B2 Cloud Storage. A new setting will then appear called Bucket Name. You must enter the name of the bucket that you created previously in B2 to store files in.
Once you save these changes then any new files you upload to as this file type will be stored in B2.