Creating a Book
To start working on a new documentation book you will want to head over to your Installed Plugins page. There you will find the Rockumentation page that lists all current books and lets you create new books.
To start a new book simply click the Add button in the grid and then enter the requested information. If an Attachment File Type is selected, by default it will use Unsecured,
then the editor will be allowed to upload images and files to be
attached to articles. This is probably what you would normally want, but
just in case you don't want any files to be uploaded then you can
change this field to be blank.
A book can have or not have versions. By default, new books do not
have version support enabled so you would need to turn that option on
here if you expect to need multiple versions. But don't worry, if you
create a book without version support you can always come back and edit
the book to enable it.
By default all books will be searchable. If you do not want that
feature to be available then you can turn it off when editing the book.
When you create a new book the system will also automatically create a
new version and an initial root article for you. The version will be
called 1.0.0. If multi-version support is not enabled, the version is still created but it will be hidden from the UI.

When you are looking at a book, you can click the View Book
button to be taken to the book viewer - which also happens to be the
editor. There is no separate page to go to in order to edit the
articles. Think of it like the HTML Content blocks. You just log in and
edit them on the page itself.
Creating a Version
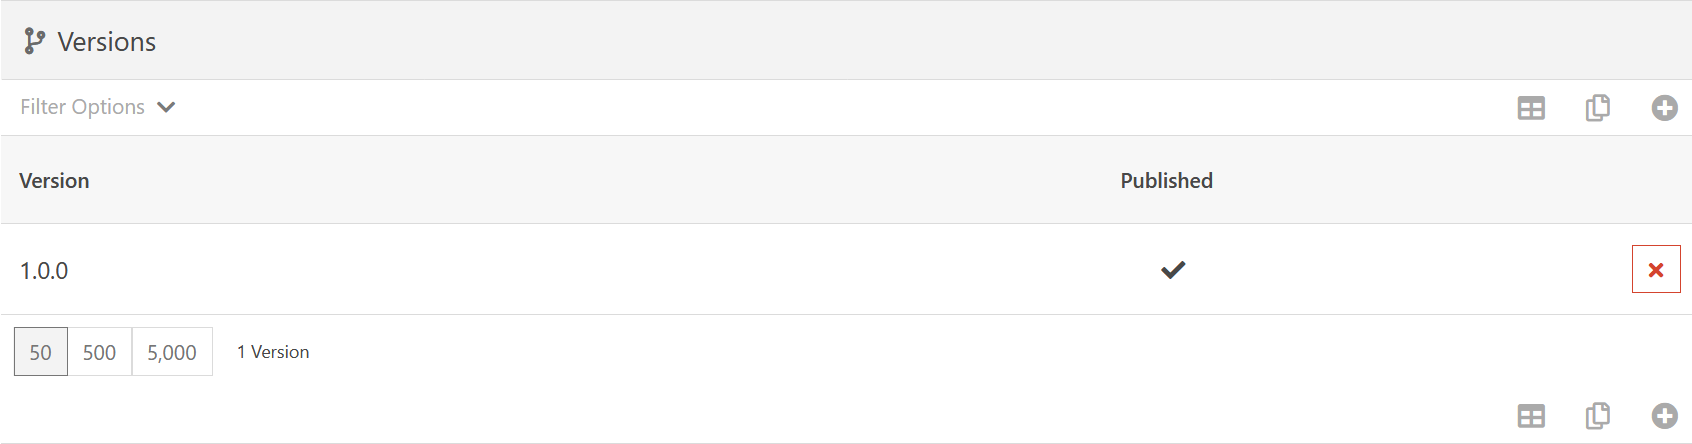
When you are on the book detail screen, if the book has multiple
version support enabled, then you will see a list of all versions of the
book in a grid.
You have two options when it comes to creating a new version. You can
start with a completely blank and new version if you wish. This is not
really recommended as you would be starting over and creating all new
content, new article structure, and everything. But if you really want
to go this route, you can click the Add button on the grid.
The recommended way to create a new version is to duplicate an
existing version - usually the current version. This will create an
exact duplicate of all the articles as well as any attached files.
If you want to go this route, simply click on one of the versions in the version list grid to go to the version detail screen.

The button in the bottom right corner allows you to duplicate this
version. Once clicked you can specify the new version title as well as
mark if it should be published or not.
Tip
Generally speaking, you would want to leave the Published
option turned off until you have finished editing the content. When a
user views a book, the most recent published version is displayed by
default.
If you will note in the above screenshot, there is also a View Book button on the version detail screen. This gives you a quick shortcut to viewing the book at that specific version.
Editing Articles
As we mentioned earlier, the book viewer is also where you edit content. So once you click one of the View Book buttons to view the book, you will also be where you need to be for editing the content of the articles.
If you have edit access to the article then there will be a dimmed
out gear button in the top-right corner of the article. If you hover
your mouse over that button then it will expand to show all available
commands.
Assuming you also have Administrate access to the article then there
will be a total of 4 buttons. From left to right these buttons are as
follows:
- Copy Article Slug - This simply copies the current article slug name. It comes in handy when you want to link this article from another article.
- Edit Security - Allows you to change the security of this article (requires Administrate access).
- Child Articles - Opens a dialog that lets you add, delete and re-order child articles (requires Edit access to view and Administrate access to make changes).
- Edit Article - Changes the page into the markdown editor so you can edit the articles content.
Tip
Article slugs are generated automatically and cannot be edited. They are
also path based, meaning a slug is only unique in respect to it's
parent article. If you have a parent article called Article 1 and a child article called Article 2, the slug of the second article would be article-2, but the full path to it would be /article-1/article-2.
When you click the
Edit button you can then change the content of the article and, if
enabled, upload images and documents to be attached to the article. For
more information on that, see the Structured Editor article.
Linking to Articles
For this explanation let's say we have 4 articles. The main (root)
article with two children underneath it: Article 1 and Article 2.
Finally the last article, Article 3, is a child of Article 2:
Main Article
  |- Article 1
  \- Article 2
       \- Article 3
When linking to articles, the path you give will always look for a
sibling article first. This means if you are on Article 1 and specify a
link of article-2 then it will correctly find Article 2.
This means if you are on Article 1 and wish to link to Article 3, you
would specify a link of article-2/article-3.
You may be thinking that it sounds like if you are on Article 2, you would still need to specify article-2/article-3
to get to the child article. You would be correct. However, we have
included a special case for that to make it easier to link to child
articles. In this case, you can simply do ./article-3 to specify a child article path.
You can also specify absolute paths to articles. For example, maybe
you are three or four levels deep in you tree and want to specify a new
root level article. In this case you can prefix your link path with a / and it will always start at the root. So no matter what article the person is currently viewing, /article-1
will always take them to Article 1. This may be a preferred way to go
unless you expect to move your articles around. If you use absolute
paths then it's likely they will break when you start moving things
around.
Note
On the main article, you can technically link to just article-1 and it will work due to the logic used to determine paths, but we recommend you get in the habit of using ./article-1 syntax so you don't confuse yourself later.