Overview
If you wish to add an existing comment to a project you may use this action. By specifying the project, the person leaving the comment and the text of the comment you can quickly create a new comment on the project.
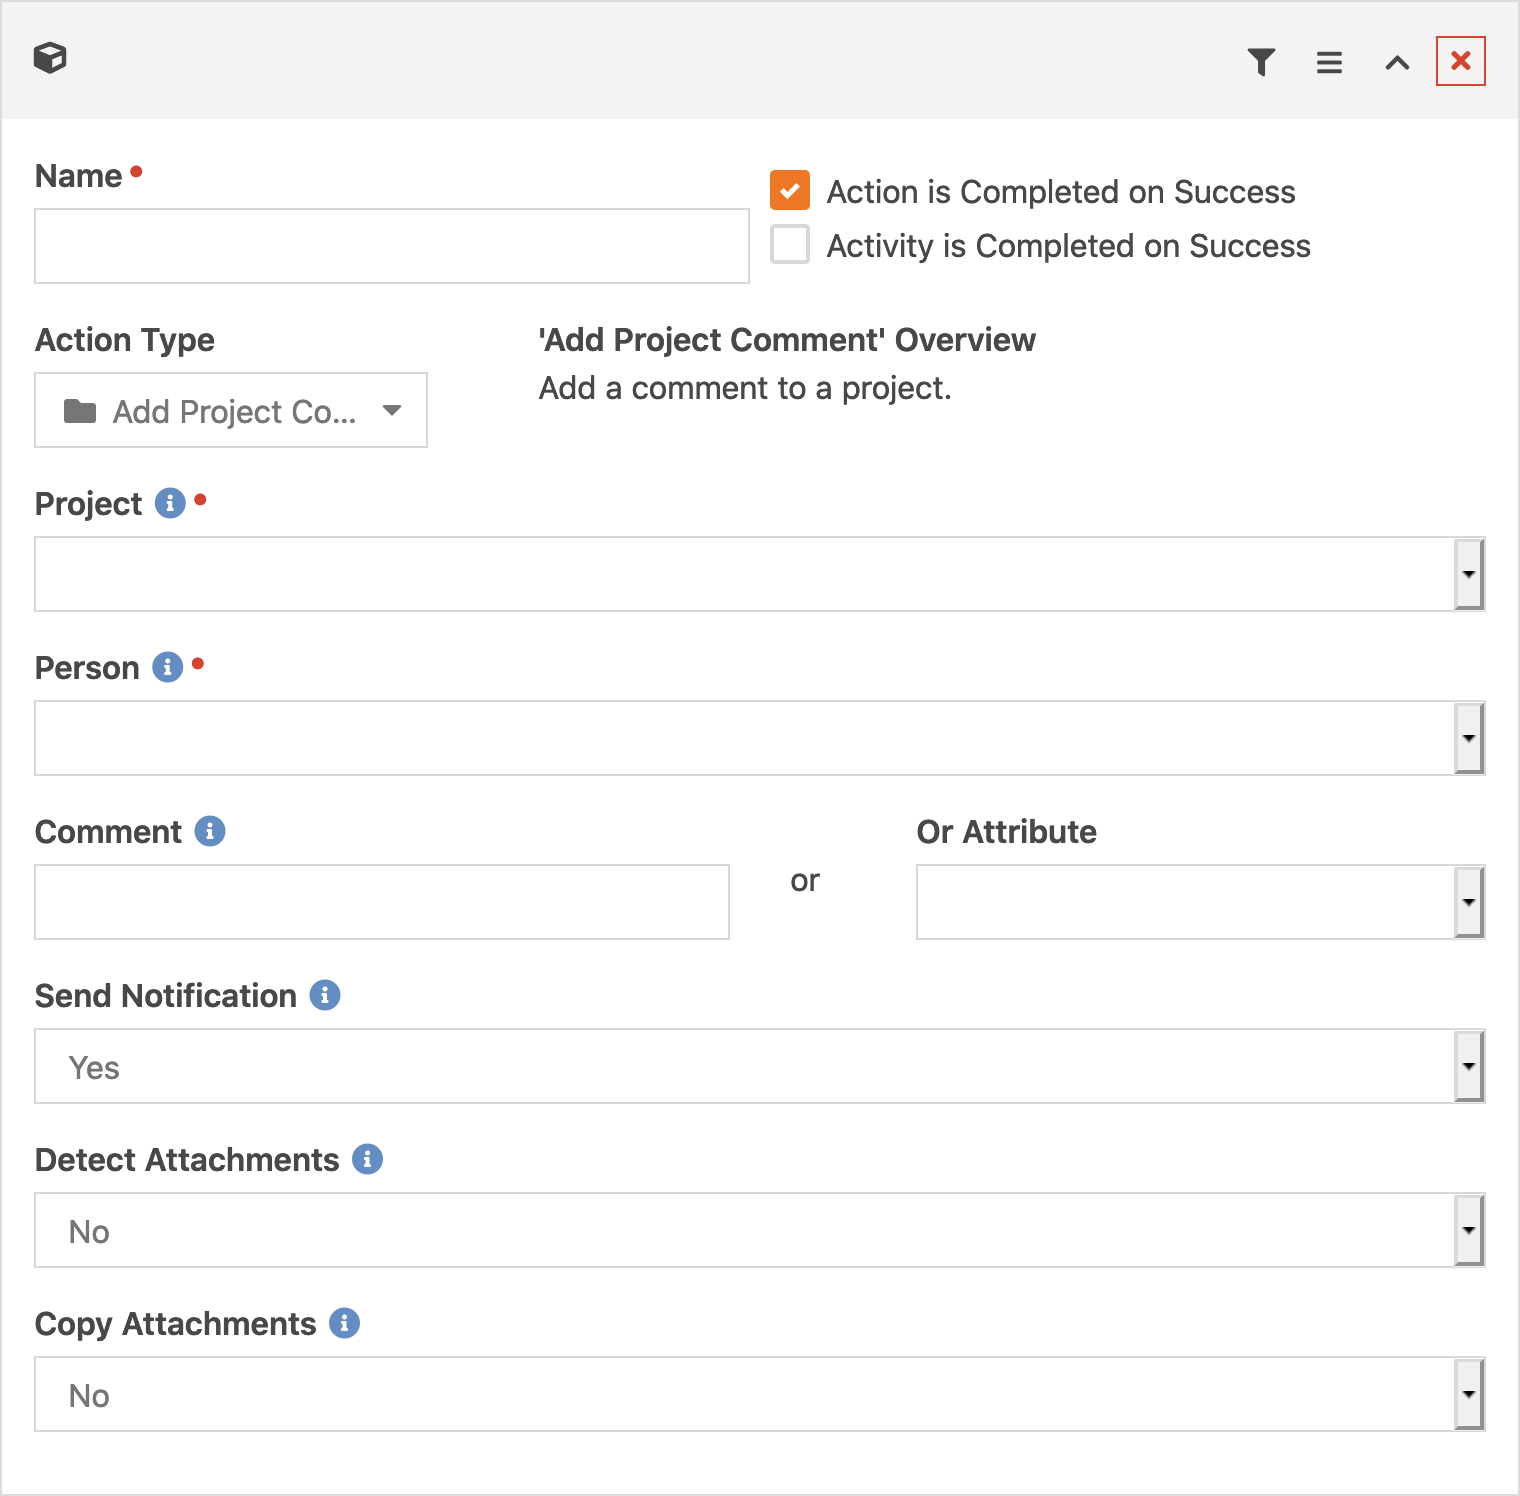
Settings
Project
The project must be specified by using an attribute of type Project. It's raw value should be the Guid of the project.
Person
You specify the person who will be recorded as having written the comment through this setting. The attribute type must be of type Person.
Comment
You may either specify the text of the comment directly, use Lava to gather the text or select an attribute that contains the text of the comment. If the comment results in an empty string or a string containing only whitespace characters then an error will be returned and the action will not execute.
Send Notification
Normally, notifications are sent automatically to participants of the project. You have the option to override this behavior and "silently" add a comment if you wish.
Detect Attachments
An attachment is a file that has been uploaded while writing a comment. Normally this is done automatically in the UI while writing the comment. However when using a workflow this functionality is disabled by default. The reason for this is that the detection code looks for a string in the format of either /GetFile.ashx?Id=### or /GetImage.ashx?Id=###. Since those strings could be encountered if you are linking to an existing image that might be on another server care should be taken before enabling this or errors might occur.
Copy Attachments
In workflows, you might have a user upload one or more images or files to the workflow that you want to include in the comment. In order to ensure that those files don't get deleted by the workflow or the system later, you can specify that any detected attachments be duplicated so that they are owned completely by the project system.
Attachments
Since you might not know the exact syntax for linking to files or images in Markdown, here is a simple way to do so. We will assume that you have a workflow attribute called File that the user has uploaded an image to. In order to properly link to that image, you might include something like one of the following patterns.
First, a simple text-link to the file (for example, a non-image). The name of the file will be the text and then we construct a link to the file. Note that we are referencing it by its Id number instead of its Guid value.
{% assign file = Workflow | Attribute:'File','Object' %}
[{{ file.FileName }}]({{ 'Global' | Attribute:'PublicApplicationRoot' }}GetFile.ashx?Id={{ file.Id }})
Next, if we wanted to simply display an uploaded image, we make only a slight adjustment. In the sample below we adjust the link to use GetImage.ashx so that any image processing can happen. We also prefix with a ! so thar markdown knows it's an image.
{% assign file = Workflow | Attribute:'File','Object' %}

In our final example we modify the image so that it becomes a clickable link to the original file. We also tweaked the URL that is used to display the image to limit th width to 400 pixels.
{% assign file = Workflow | Attribute:'File','Object' %}
[]({{ 'Global' | Attribute:'PublicApplicationRoot' }}GetImage.ashx?Id={{ file.Id }})